

Blog
Carry-On Packing List: How to Pack Light for a Week

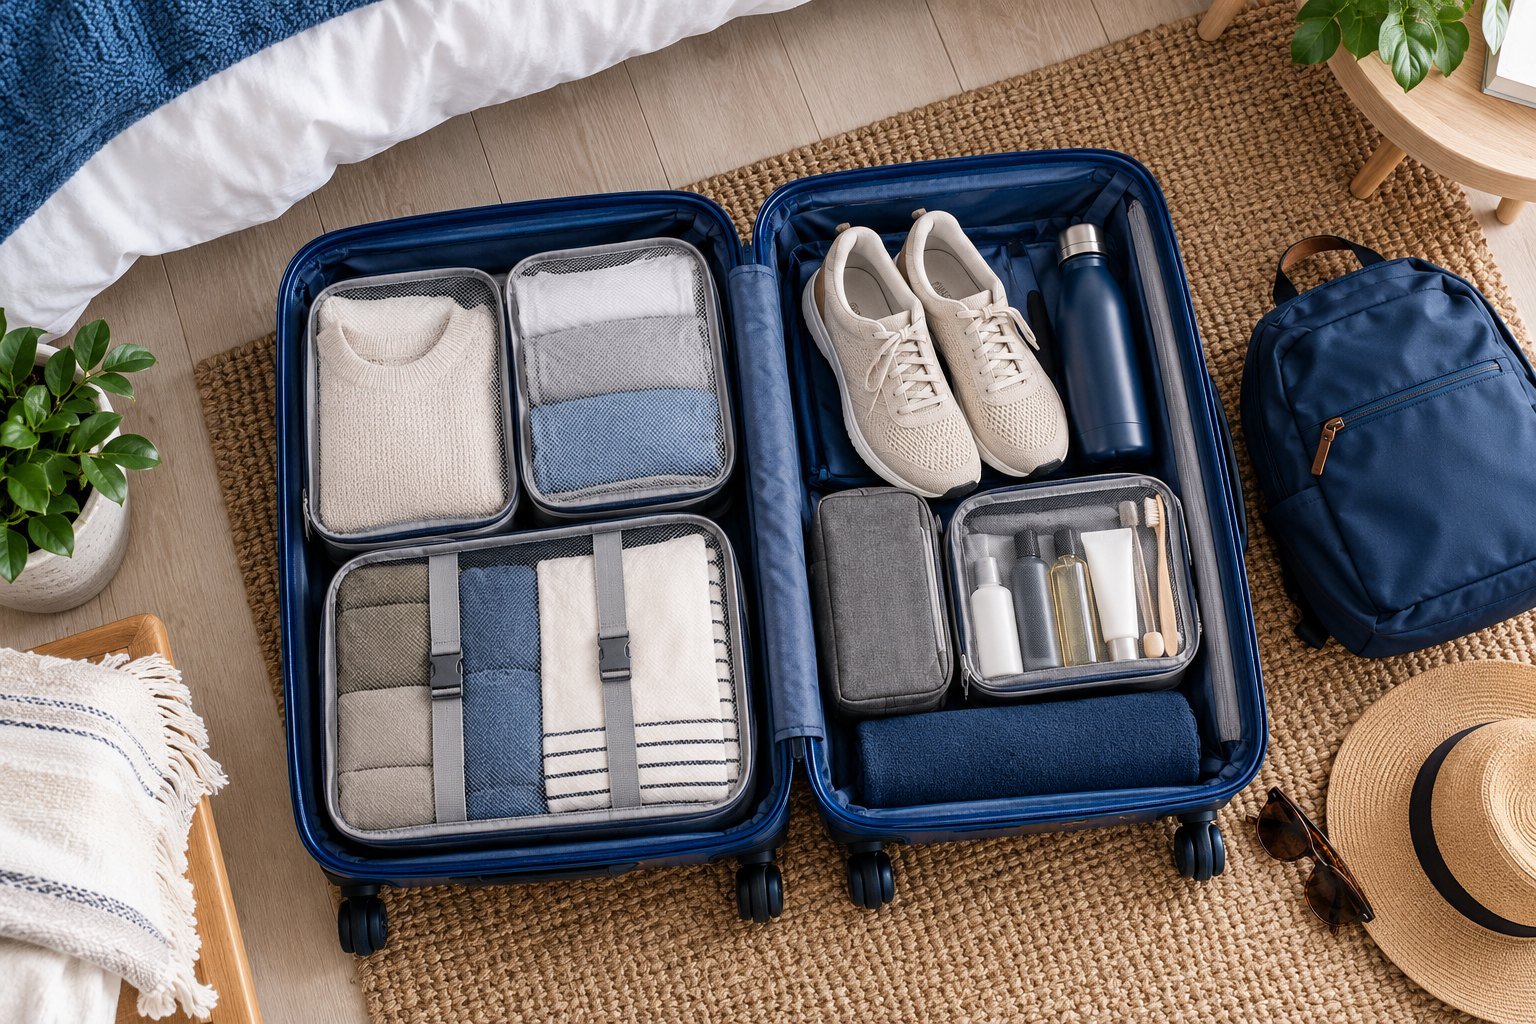
Packing light is less about owning the perfect suitcase and more about making clear choices. When every item has a purpose, getting through stations, finding accommodation, and changing plans all become easier. You also spend less of your trip searching through belongings or carrying things you never use.
This carry-on packing list for a week is a flexible starting point for an ordinary leisure trip. Adjust it for weather, activities, laundry access, and personal needs. Airline allowances and security requirements vary, so check the rules for every flight in your booking before choosing your bag.
Start With Your Trip, Not Your Wardrobe
Before taking anything out of a drawer, write down the length of your trip, expected conditions, planned activities, and accommodation facilities. A week based in one warm city requires a different bag from a trip involving cold evenings and several transfers.
Identify items that are essential for access, comfort, or a specific activity. Then separate them from things that are merely nice to have. Your everyday clothes can often cover more situations than you expect, especially if you choose pieces that work together.
Choose a Bag That Fits the Actual Allowance
Check the permitted size, weight, and number of cabin items with your operating airline. Do this for connecting flights too. A bag sold as “cabin size” is not automatically accepted on every service, and an included personal item may have different conditions from a larger overhead bag.
Include handles, wheels, and external pockets when measuring. Weigh the bag once packed, not while it is empty. Leave a little room for things you will add during the journey. If you expect to carry the bag up stairs, test whether you can lift it comfortably.
A Practical One-Week Clothing List
For a mild-weather leisure trip with access to laundry or handwashing, the following can be a useful starting point. It is an example rather than a universal rule; take the quantities that work for your comfort and hygiene needs.
- Four or five tops that coordinate with the same bottoms.
- Two or three bottoms suitable for your activities.
- Underwear and socks in quantities that match your laundry plan.
- Sleepwear and one light extra layer.
- A weather-appropriate outer layer if your destination needs one.
- One comfortable main pair of shoes, plus a second pair only when useful.
- Activity-specific clothing, such as swimwear, when it has a clear purpose.
Choose a small color palette so most pieces can be combined. Prioritize clothes you already enjoy wearing. A holiday is a poor time to discover that a new pair of shoes causes discomfort or a supposedly versatile outfit does not suit the activities you booked.
Pack outfits that share items
Instead of creating a different complete outfit for every day, build several combinations around the same reliable pieces. A simple shirt might work for sightseeing and dinner with a change of layer. The aim is flexibility, not wearing something unsuitable just to save space.
Organize Toiletries Without Overpacking
Bring the products you actually use and check what your accommodation supplies. Smaller quantities can reduce bulk, but only transfer a product into another container when doing so is appropriate and the container closes securely. Label containers clearly.
Review the relevant departure and transfer airport’s security guidance for liquids and restricted items. Do not assume that advice for one country applies throughout your itinerary. Keep toiletries accessible so you can present them if requested without emptying your whole bag.
Keep any personal medical essentials accessible and follow the relevant official guidance for carrying them to your destination. Requirements can depend on the item and country. Do not rely on a general packing checklist to establish whether something is permitted.
Keep Documents and Everyday Essentials Together
Create a small travel pouch for the items you will reach for repeatedly. It might hold your passport or identification, booking details, a pen, and your transport card. Keep sensitive documents secure rather than placing them in an exposed outer pocket.
Save the details you need offline, including your accommodation address and arrival instructions. Store copies securely and share only what is necessary with the people who need it. Printed information can be useful if you prefer a backup that does not depend on a phone battery.
Make Your Electronics Earn Their Space
List your devices and the cables each requires. Where practical, use compatible charging equipment to reduce duplication. Check socket compatibility and your equipment’s voltage requirements before choosing an adapter; a plug adapter does not automatically convert voltage.
Follow your airline’s guidance for batteries, power banks, and other electronic items. Keep charging cables in one pouch so they do not tangle through your clothing. Before departure, download the maps, tickets, or entertainment you expect to use when connectivity is limited.
Use Packing Cubes for Order, Not Extra Allowance
Packing cubes can separate clothes and make repacking faster, especially when you move between several places. They do not change the airline’s weight limit. Compression may save volume, but it can also tempt you to pack a heavier bag.
Group items by use: daily clothing in one section, underwear in another, and accessories in a small pouch. Put the things you need during the journey near the top. Keep one spare outfit or essential layer accessible if your bag might need to be checked at the gate.
Build a Small Day Bag
Your day bag should hold the items you actually need while exploring without becoming a second suitcase. A water bottle, weather-appropriate layer, necessary personal items, and room for a small purchase may be enough. Choose a bag that closes securely and feels comfortable when worn.
If a personal item is included in your airfare, check its conditions before treating your day bag as an extra allowance. Large bags may also be restricted at some attractions, so review the places you plan to visit before packing a bulky backpack.
The Final Packing Test
- Lay everything out where you can see it.
- Remove duplicates and items with no specific use.
- Check that your clothing works together.
- Pack, measure, and weigh the complete bag.
- Carry it around for several minutes and try lifting it.
- Move journey essentials to an easy-to-reach place.
If the bag feels difficult at home, it is unlikely to feel better after a long travel day. Remove something before buying another organizer. Keeping a little empty space also makes the return journey easier when clothes are no longer folded quite so carefully.
Frequently Asked Questions
Can I travel for a week with only carry-on luggage?
Many travelers can, depending on the trip and allowance. Laundry access, climate, equipment needs, and personal circumstances make a difference. Choose the luggage arrangement that works for you rather than treating cabin-only travel as a requirement.
Is rolling better than folding?
Either method can work. Roll flexible everyday items if that helps organization, and fold structured pieces when appropriate. A coordinated clothing list and fewer unnecessary items usually make a bigger difference than the folding method.
What should I remove first if the bag is too heavy?
Look for duplicate shoes, extra electronics, bulky toiletries, and clothes packed only “just in case.” Keep essential documents and personal necessities. If your trip genuinely requires more equipment, compare baggage options before departure.
Pack Less, Travel More Comfortably
A useful packing list evolves with experience. After your trip, note what you used, what stayed untouched, and what you wished you had. Keep that short record for next time. Packing becomes simpler when it is based on how you actually travel.